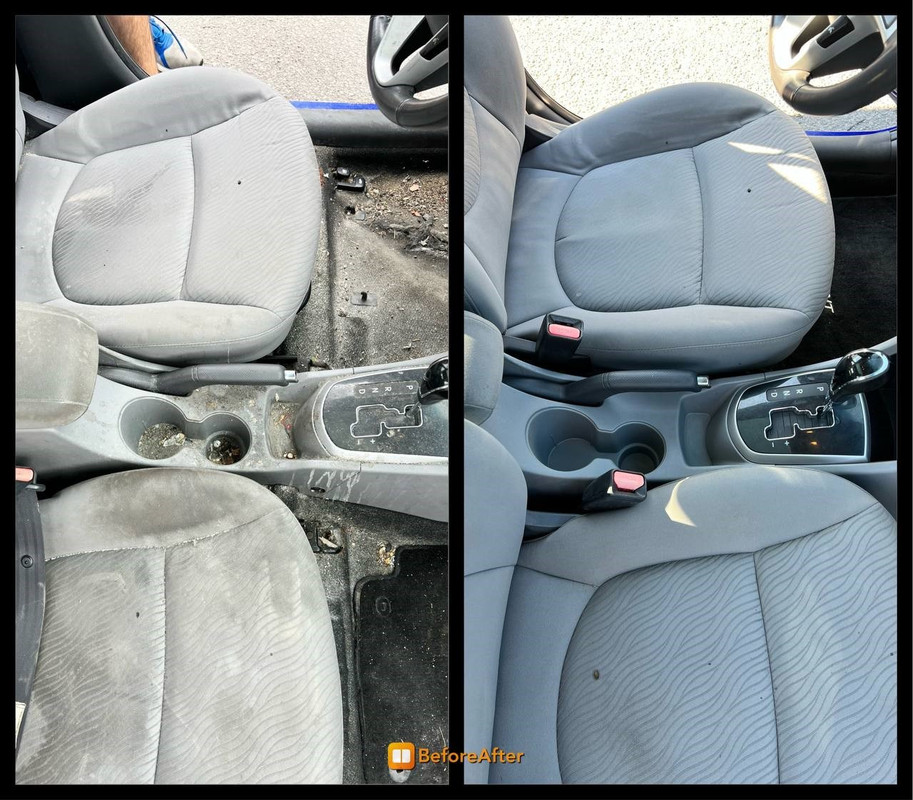
Does the interior of your car require some work? With professional-level interior car detailing you may perform yourself, and restore its gloss.
People are hiring professionals to wash their cars more and more frequently. In 2019, 77 percent of drivers reported they usually took their vehicle to a professional car wash, up from about 48 percent in 1997, according to the International Car wash Association. Depending on where you reside and the level of, well, detail, a full professional car detailing can cost somewhere between $75 to $150 or more. Dirt, dust, and grime are attracted to car interiors in equal parts, and frequent trips to the car wash and detailing shop can add up. But you can clean your vehicles like an expert with a bit of knowledge and some shrewd advice.
Step 1: Use professional cleaners.
Invest in car care cleaners that are specially developed for automotive applications instead of home cleaners. According to our experience, household items, like dishwashing soap, can damage the interior, exterior, and plastic surfaces of vehicles.
Get some cotton swabs, fluffy makeup brushes, microfiber cloths, a scrub brush, and a vacuum cleaner with a brush and crevices attachments in addition to auto cleaning supplies. The 16-Piece Arsenal Builder Car Wash Kit is what John Peterson, editor of Safe Drive Gear and senior sales manager for a car retailer, suggests if you prefer a cleaning product kit that includes everything, including exterior finishing.
Step 2: Clear Out the Car
Remove any large things you store in your car, including the floor mats, bags, and car seats. The director of worldwide training, event marketing, and customer relations at Maguire’s, Mike Pennington, suggests removing waste as well. Keep a tiny trash bag close by to throw your rubbish in while you're driving, advises Pennington. "Then you can just throw the bag away and get a new one whenever you need it,"
Step 3: Make a Plan
There are cracks and fissures in cars. Examine the interior of your car before you start cleaning. As you drive the car, make a note of any exceptionally unclean spots or regions you might have missed. The most frequently forgotten areas, according to Pennington, are the floor mats, the backs of the sun visors, and the area underneath the seats (reach under there carefully!). Peterson specifies cup holders, air vents, and storage areas. Bennett also claims that people frequently ignore the cargo and trunk spaces. Aim to visit these locations as the experts would.
Step 4: Clean Surfaces and Vacuum
Next, clean the surfaces inside the car and vacuum them. Although it seems simple, take your time and make sure to reach every tiny detail if you want a clean that equals that of a car detailing job. Try to work from top to bottom, but be prepared to go back over some areas. You might need to go back and clean a crevice you missed because cars have confined spaces and dirt can fly about. Keep these car detailing tips and tricks in mind as you complete this marathon of a step:
Before vacuuming: Bennett advises using a soft, natural bristle brush to remove any remaining dirt from the inside surfaces.
Don’t forget the headliner: That is the material that the roof's inside is covered in. Wrap a hard polyamide brush in a microfiber towel, spray upholstery cleaner on it, and then lightly agitate the headliner, recommends Pennington. This is an excellent technique to prevent over-cleaning the headliner.
Move seats: As Bennett advises, "slide the front seats all the way forward and back to get under the seat" when vacuuming the interior. To access any hidden dirt, Pennington advises reclining seats to be moved as far as they can be in both directions.
Use your resources: Your vacuum cleaner's crevice tool was designed to fit into small spaces. Use it frequently when detailing your car. To clean air vents and the area surrounding buttons, use cotton swabs and makeup brushes.
Choose carefully: Use cleaning supplies made especially for the material. Then, if required, apply a conditioner or protectant to any vinyl or leather surfaces.
Inspect the spare: Pennington recommended inspecting your spare tire to make sure it is in good shape when you are cleaning the trunk. Ensure that every tire-changing tool is present and accessible.
Spray with caution: According to Peterson, avoid spraying interior cleaning solutions directly onto towels or detailing brushes because they can create streaks and harm devices.
Step 5: Wash the Windows
Wash the windows last. For this phase, specialty window wipes work wonderfully. Even though you're concentrating on the interior of the automobile in this step, any exterior dirt will show up inside the freshly detailed interior. While you're at it, clean the windows' exteriors as well.
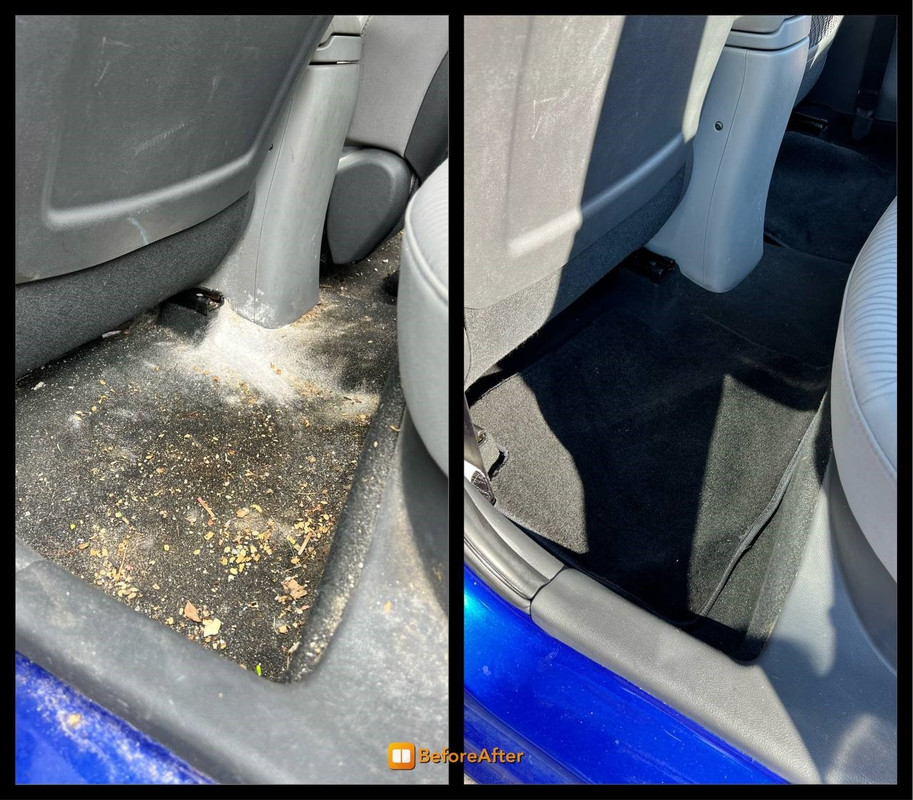
Step 6: Clean Floor Mats
Clean off your floor mats of any loose dirt. As specified by the manufacturer, vacuum the area before using hot water and an automotive carpet cleaner to scrub it. Allow the mats to fully dry.
Step 7: Reset
Put the fully dried car mats back in their original locations after you've completed detailing your car. You should also put any objects you wish to keep in your car back in their proper locations, as well as your seats and mirrors. Now that your car has been thoroughly cleaned, you're ready to go. (more info)


 icons at the top
right corner of the subsection.
icons at the top
right corner of the subsection.